You’re going to melt your 8 oz of chocolate along with 1 tablespoon of coconut oil and 1-2 teaspoons of instant espresso powder all together.
Now, I always go with the stovetop method because I’m a bit of a control freak when it comes to chocolate – you can use medium heat, but keep stirring constantly until everything becomes this gorgeous, smooth mixture.
If you’re team microwave though, totally fine, just do it in 30 second bursts and stir between each one.
The coconut oil is the key here, making everything silky smooth, while that espresso powder is going to give you that perfect coffee kick without overpowering the chocolate.
The Maillard reaction during heating creates those rich, complex flavors we love in both chocolate and coffee.
Fold in Those Beautiful Hazelnuts
This is where things get really fun, and honestly, a little messy if you’re anything like me.
Take your 1 cup of toasted hazelnuts that you’ve roughly chopped – and please tell me you toasted them first because that’s where all the enchantment happens flavor-wise and fold them right into your melted chocolate mixture. The essential oils in freshly ground coffee enhance the nutty flavors perfectly.
I use a rubber spatula for this, gently folding rather than stirring aggressively, because you want every single hazelnut piece coated in that coffee-chocolate goodness. You’ll know you’re done when each nut is wearing its little chocolate jacket perfectly.
Prepare Your Pan
Here’s where that parchment paper becomes your best friend. Line your 8×8 pan with parchment paper, but here’s the trick I learned the hard way – leave some overhang on the sides.
Have faith in me on this one, because when it comes time to remove your bark later, you’ll just lift those paper edges like little handles instead of trying to wrestle it out of the pan with a knife like I did my first time. Much more civilized, much less frustrating.
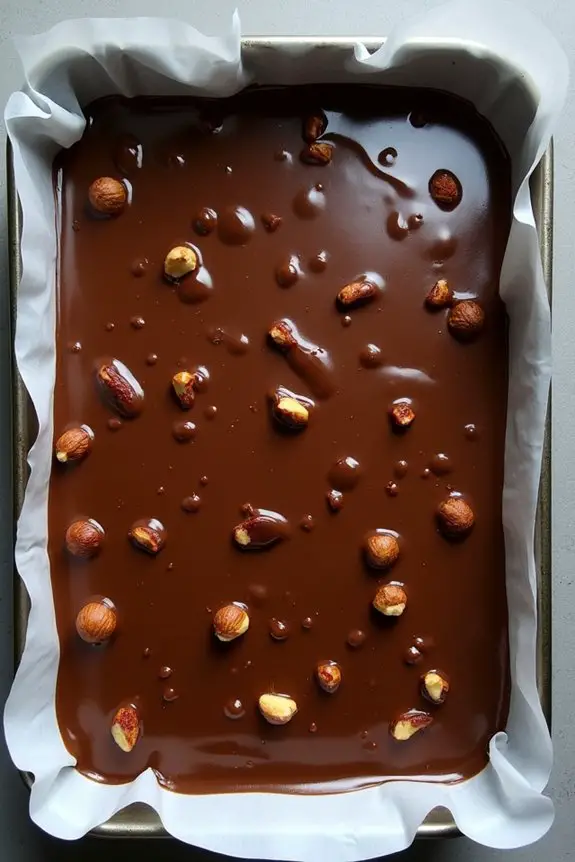
Pour and Spread
Now comes the satisfying part – pour that entire chocolate-hazelnut mixture right into your prepared pan. Use your spatula to spread it evenly, making sure you get into all the corners.
Don’t stress about making it perfectly smooth though, because bark is supposed to have that rustic, homemade charm. I actually like when mine has a few little peaks and valleys, gives it character.
The Waiting Game
Pop that pan right into the refrigerator and let it chill for about 1-2 hours until it’s completely hardened. I know, I know, the waiting is the hardest part, especially when your kitchen smells like coffee and chocolate heaven.
But resist the urge to check on it every twenty minutes like I always do – it needs that full time to set properly.
Break It Up
Once your bark is completely solid, use those parchment paper handles to lift it right out of the pan. Now comes the fun part – breaking it into pieces.
There’s no wrong way to do this, just snap it with your hands into whatever size pieces make you happy. Some people like neat squares, but I prefer irregular chunks because that’s what real bark looks like, right?